Kingsvale, NSW 1963

Kingsvale, NSW 1963
A view of Kingsvale station, looking north towards Cowra c1963. Courtesy Ken Ames, "From Grease to Gold Braid".

Friday 19 December 2014

LFX Part 2 - Weathering

Doing a bit of research through my library, I found a few great photos to help with the weathering of the LFX. 

The first one shows a BX, but the livery is what I'm trying to reproduce, right down to the faded tuscan, the dust, rust and grease on the underframe and bogies and the wear of the paint on the door frames, particularly the bottome edge.  Also of note is how the frosting on the toilet windows has worn off.

Not all the window frames appear to be tuscan either.  Some are russet.


from Time of the Passenger Train, First Division, R.G. Preston, page 81.

Page 81
Time of the Passenger Train, First Division

This photo is only a very small part of an LFX, but enough to give a good idea of the colour of the window frames, the wear of the tuscan paintwork on the lower body and the weathering of the underframe.
Time of the Passenger Train Third Division, page 46.  
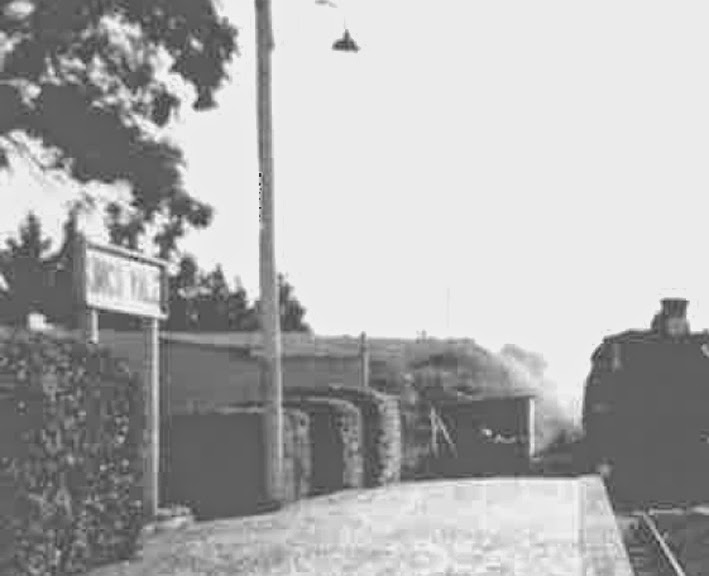
Otford station.  Undated photo by RG Preston

This one shows some great detail of the end panelling, handrails and hoses on the headstock.  While I'm not modelling the version with the panelled end, the grime which has worked its way into the corners is clear.
From Time of the Passenger Train, First Division. page 97
"All side-loading carriages were fitted with two small jumper cables on the head stock and these were used to carry the alarm system circuit.  This BX car also has end step and handrails used to give access to the water filling plugs on the roof.  Photo:  Jim Hampson


So, from the prototype to the model:


Dammit, a photo will always highlight the faults.  Some of the white acrylic glue is visible along the lower edge of the window panes.  This glue was gooey and hard to work with, so I switched to Zap-A-Gap which didn't frost the "glass" the way superglues usually do.


I'm also experimenting with lighting, aperture and shutter speed.  Some additional lighting has been used here to highlight the colours of the underframe.


While hook draw gear would look much nicer, I opted for Kadees for operational convenience.  I have another one to put together - maybe I'll use hooks and shackles for that one...


The underframe detail on this model is the best of any commercial model kit I've seen.  It's engineered to go together nicely and the result is very convincing.


The final photo shows the LFX behind my other big achievement for the year, the men's toilet block. 


Thanks for having a look at my blog and your comments and encouragement through the year.  I wish you all a great Christmas and New Year!  

James

Saturday 29 November 2014

LFX Part 1


I was keen to complete a model to display at the New England Convention.  One that I've been eager to build was one of the two Mike McCormac Models LFX kits I bought some time ago.  I saw the effort Mike put into the design of these kits and the accuracy he was aiming for and knew they would be a joy to build.

I did get the kit to a stage where I could display it at Armidale, but I didn't finish all of the windows or the weathering.  More on that later.

 As I expected, the kit does go together beautifully - everything fits so nicely.  There are some steps that are quite fiddly, but the design is well thought-out and the result is worth the effort.  There were a few times where I was crawling around on the floor trying to find a tiny brass part which had been ejected from the tweezers...

Here is a photo of a trial fit of the roof in the body.


The interior detail of the carriage is very fine.


Here is one of the bogie assemblies,which are a combination of brass etches, lost wax and epoxy castings.  They run very nicely and are highly detailed.


Quite a few hours later, the model has been painted in tuscan and russet and lined in buff, using a bow pen.

I was quite satisfied with the paint job - seems that I'm starting to master the air brush at last.

After this, the decals were applied and a coat of Dullcote applied.

Next came the weathering, and this is where things got interesting.  Using my trusty Wild Swan book on painting and lining, I washed the sides in thinned down Humbrol matte black so that the black would settle into the grooved sides and provide depth.

All was going very nicely.  but after finishing the second side I turned the model back over and found that my beautiful paint job had turned white!  I think the enamel thinners had reacted with the Dullcote, and resulted in a white, chalky finish.

I tried a few methods to get the chalk off, including enamel thinners which ate through the paint and removed a decal.  A few swear words were uttered.  Weathering is normally pretty tolerant to disasters, but this was getting ridiculous!

I found that scrubbing with a fairly stiff brass brush got rid of most of the chalk, but left enough on to provide a weathered, sun-bleached finish, It looked quite good!  Saved!

This is pretty much the state the model was displayed in at Armidale:


Now the model is almost finished with the addition of the handrails, windows and couplers and completion of the weathering.  But I'll save that for Part 2!

Cheers for now

James


Sunday 16 November 2014

New England Convention

Hi all
While the world leaders were in Brisbane for the G20, another great and important event took place in Armidale: the New England Convention. This was my first NE convention, but hopefully not my last. The format allows lots of time to chat with friends and make some new ones; all of whom happen to be very competent modellers!
The people, presentations, models, trade stands and layouts provided much inspiration.
I'm aiming to be more active in both my modelling and in presenting my progress here - so cheers to that!
James

Saturday 4 October 2014

Long overdue...


...for an update.  The good news is that I've finished studying and completed my second degree which has given me a lot more time for modelling.  The interest and motivation is still there, but I've been concentrating recently on building some of the many kits I have stashed away.  That's for another post, but in the meantime here are a few photos to show where I am with Kings Vale.

The toilet block has been placed a the up end of the platform and the station sign is done and gives the layout an identity.  


There's a deciduous tree behind the station sign, so being autumn at the time I decided I'd place the layout in autumn which would allow a few vibrant colours and some trees which were something other than green.

This tree shows the green-grey fungus which often grows on the southern face of tree trunks.


I am not completely satisfied with the foliage on this tree, so will come back to it.  I found the two Wild Swan books on modelling trees excellent, and a recent visit to London allowed me to acquire all the various materials used in those books for representing branches and foliage.

This view shows the now installed toilet block and the static grass and other landscaping I have completed.


The same area with the tree removed:


Attempting to re-create the colours and types of foliage, soil and gravel around the station area. 

With the landscaping of this module almost complete, I've started working on a second module which is the southern end of Kings Vale, but I'm thinking that this should also be an off-stage staging yard so that I can assemble and run some trains.

One of the "interesting" problems I have is the Simply Glues ballast adhesive is corroding the track.  It's easily removed, but clearly it's more than PVA, water and detergent in that stuff!


Monday 28 April 2014

The bog blog

Hi all
I have been making steady progress with Kings Vale recently, adding a few fiddly details to the station which really lift the appearance.

With a few days off over Easter and Anzac Day, the main project has been the construction of a C1 toilet, which was situated at the Cowra end of the platform.

From the photos I have, this structure is something of a mystery.  It is definitely a toilet block of some kind for the gentlemen, but the design is difficult to discern from the photos.  It looks like it might have a skillion roof , but without many details I am using a bit of modellers' licence and pretending it's a C1 standard building.  I like the style of the C1.


Since there are few signals protecting Kings Vale yard, I don't think a lamp room separate to the station building would have been justified.  The building doesn't look big enough to be a C2.

So using the Data Sheet for "C" type toilets and lamp rooms, I started crafting this small structure.  Well, it's quite small, but not particularly simple - it took about a week from start to finish (of about an hour or two of effort per day).  I have really enjoyed doing this bit of styrene scratchbuilding.  I love working with Evergreen strip and the results are very pleasing so far.

Here is the back wall.  Most of the louvres are blind, but I wanted the ones adjacent to the doorway to be "real" so that the louvres look right from both sides.  Same applies to the framing.  Elsewhere, I have not built a frame but just backed the Campbell's corrugated aluminium with styrene sheet.


The floor on the left, with the frame for the screen, rear wall, front wall and two ends.


After airbrushing of the sides and ends and picking out details in mid- and dark stone.


I had some near disasters with the weathering, thinking I had stuffed up a half-decent paint job.  But weathering is pretty forgiving, particularly if you are patient in waiting 24 hours for the paint to dry before trying to fix it.  Overall I think the result is ok, and will look even better when it's been added to the platform and surrounded by a few weeds.


The next exciting instalment will be along soon!

Cheers

James