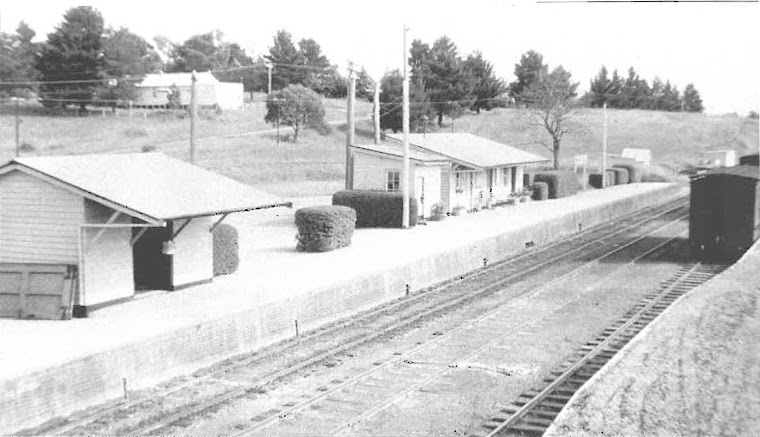
After 10 days off work, I have made some pleasing progress with my small layout. This is despite the 3 kids, a long list of chores etc, and the usual festive engagements. Clearly it's work that prevents me modelling more during the year!
I've got my track working, two points operating and DCC functioning. I had some more shenanigans with a short, but managed to sort that out.
 |
| This shows the construction of the module - a rivetted aluminium frame and ply cross-members and top. Very light but stiff. |
 |
| Applying PVA to the cork road-bed prior to adding sleepers. |
 |
| Stained sleepers ready to lay. These are stained with diluted Raven Oil which gives a great natural variation to the sleeper colour, but all are greyish with the silvery sheen of weathered timber. |
The platform facing is glued on. I have glued some thin balsa to the platform surface and shaped it to a prototypical contour.
I started gluing down some stained sleepers and have started brush-painting the rail. I was all ready to airbrush the rail and the platform face, when - my compressor died! Murphy strikes again. Off to Bunnings half an hour before closing time; a new one was just $79, about $300 less than the lat time I bought a compressor.
Here's hoping I have more success tomorrow. But at the moment, I am feeling quite optimistic that the end is in sight! Why it has taken me this long to get this far, I don't know...although, I am at the point where I have just about everything I need to undertake any modelling job. Except if a compressor carks it.
The station building is being painted in the stone colour scheme and looking very handsome so far.
Some time ago, I promised some pictures of Kingsvale, but never got around to posting them. Here is all that remains (as at March 2010).
 |
| Looking south (towards Demondrille) with the platform at right and the loading bank and grain shed in the distance on the left. |
 |
| A closer view of the loading bank. The centre road has been removed. |
 |
| The footings of the station building |
 |
| The catch point at the northern end of the loop |
James


James, you've made some very impressive progress. I think the.raben oil works a treat. The variation in colour looks great. I have enjoyed reading your blog and look forward to seeing your progress in2012. HNY! Geoff
ReplyDeleteLooks great James! Will be great to watch 2012's progress. Love the base boards, very nice.
ReplyDeleteLinton